28.2.2024 - 13.3.2024 (Week 4 - Week 6) Caitlin Ong Lynn Dee / 0343801 / Bachelor of Design (Hons) in Creative
Media Information Design Project 2
CONTENTS
LECTURE
INSTRUCTION
Project 2: Animated Infographic
Project 2 is a continuation of Project 1, where we use the assets from the
Instructible poster to create a 60 second motion graphic. The video needs to
capture the same aesthetic and narrative as the poster complete with, SFX
and music.
Requirements:
Max 60 seconds infographic video 720p: 1280x720 pixels (H26/mp4)
published on YouTube (set to Unlisted)
Mr. Shamsul provide samples of our senior works as reference to create
the video.
Fig 1.2 Project 2 by Chan Meiling (5/3/2024)
Fig 1.3 Project 2 by Jocelin Agustia (5/3/2024)
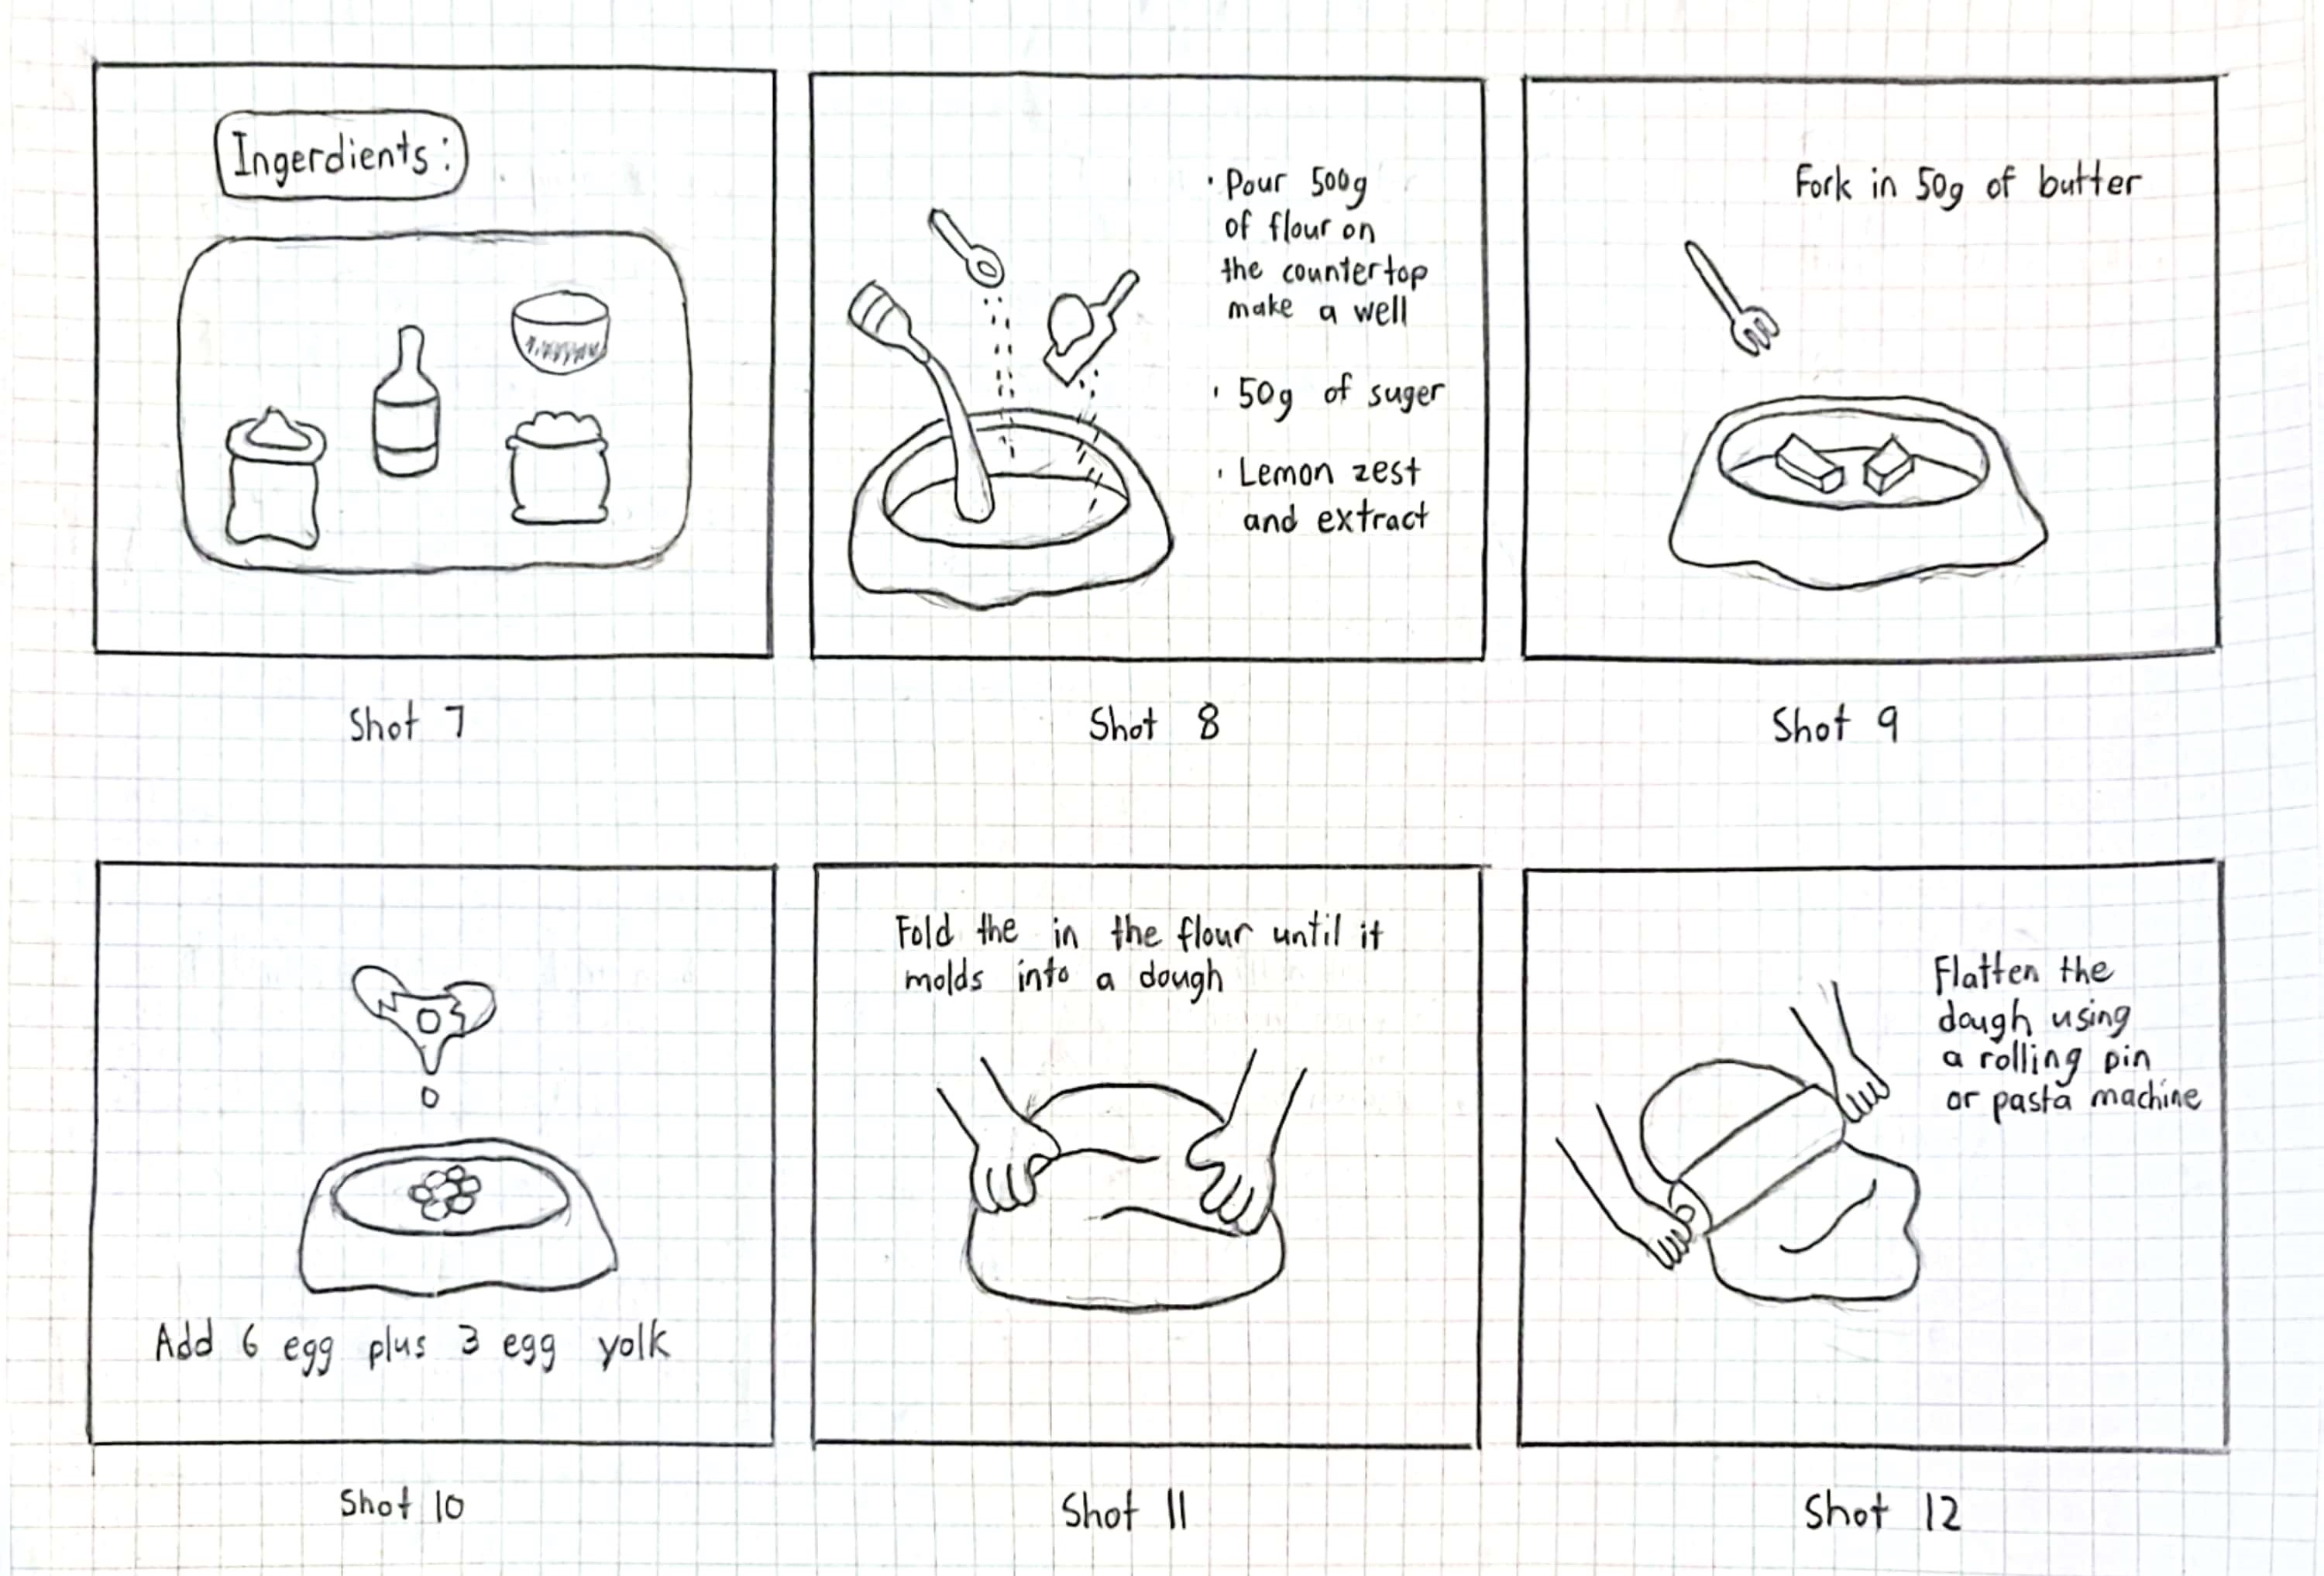
Storyboard
To plan out the sequence for the video I sketch out my storyboard.
Fig 2.1 Storyboard Page 1 (5/3/2024)
Fig 2.2 Storyboard Page 2 (5/3/2024)
Fig 2.3 Storyboard Page 3 (5/3/2024)
Revising the Assets
Looking back at the assets from Project 1, the layers are flattened and
unrefined. I also have to add more asset in order to make the explanation of
the step clearer.
Fig 3.1 Drawing of Ingredients (5/3/2024)
Fig 3.2 Refinement of Step 1 Drawing Comparision (5/3/2024)
Fig 3.3 Refinement of Step 2 Drawing Comparision (5/3/2024)
Fig 3.2 Refinement of Step 2 Drawing Comparision (5/3/2024)
Fig 3.3 Additional Step Drawing (5/3/2024)
Fig 3.4 Refinement of Step 4 Drawing Comparision (5/3/2024)
Fig 3.5 Refinement of Step 5 Drawing Comparision (5/3/2024)
Fig 3.6 Refinement of Step 6 Drawing Comparision (5/3/2024)
Fig 3.7 Refinement of Step 7 Drawing Comparision (5/3/2024)
Fig 3.8 Time and Temperature Drawing (5/3/2024)
Fig 3.9 Refinement of Calcioni Drawing (5/3/2024)
Creating the Frames
When I tried to implement the same aesthetic on the frame, I found out it
didn't look good because there is not much to work with from the
Infographic Poster. I tried my best to change the aesthetic a bit while
maintaining consistency.
Stage 1 I tried to make each of the frames a different design to represent
different types of frames such as the subtitle frame, the ingredients frame
and the steps frame. But it ends up looking too messy.
Fig 4.1 Subtitle Frame (6/3/2024)
Fig 4.2 Ingredients Frame (6/3/2024)
Fig 4.3 Step Frame (6/3/2024)
Fig 4.4 Stage 1 of Frames Creation Progress (6/3/2024)
Stage 2 In this stage, I tried to make the frame design to be as faithful as possible, but it ends up being too ugly.
Fig 4.5 Title Frame (6/3/2024)
Fig 4.6 Subtitle Frame (6/3/2024)
Fig 4.7 Ingredients Frame (6/3/2024)
Fig 4.8 Stage 2 of Frames Creation Progress (6/3/2024)
Stage 3 Finally found out, a way to make every frame not cluttered. By implanting
in one background in every frame. And I found out in the last step I
mistaken the microwave for an oven in the Pasta Grandies video. I change
the asset in order to make the last step not confusing.
Fig 4.9 Changing the microwave to an oven. (7/3/2024)
Fig 4.10 Stage 2 of Frames Creation Progress (7/3/2024)
Final Stage I realized that the original design of the title card doesn't look good. So, I made some tweaks on the design.
Fig 4.11 Redesign Title (8/3/2024)
Fig 4.12 Final Frame Design (8/3/2024)
Animation Progress
Individualized the Files I put each frame in
their separate file. Order to insert them to After Effects
Fig 5.1 Illustrator file from each frame (9/3/2024)
Initial Animation For each frame the timeline is set 3 seconds even though it is not enough
I allows me to dictate which one of them need to be extended longer.
Fig 5.2 Overall Timeframe for Initial Animation (10/3/2024)
Fail Attempt of Extending the Timeframe
Frames 4 and 8 are the hardest one to animate due to having the most
content. My plan is to have each of the ingredients appear one by
one, but that plan blackfire since it requires a longer time period. In
the final video, for Scene 4 and 8 it is present by having all of the
content appear first and then the text appears one by one.
Fig 5.3 Scene 4 Timeline in Overall Animation (11/3/2024)
Fig 5.4 Timeline for Scene 4 (11/3/2024)
Inserting Music and Sound Effects
Duringthe progress of finalizing the timeframe I have implanted background
music and sound effects.
Fig 5.6 Inserting Background Music in Overall Animation (12/3/2024)
Fig 5.7 Inserting Sound Effect in a Frame (12/3/2024)
Final Outcome
Fig 5.8 Final Animated Infographic (12/3/2024)
FEEDBACK
Week 5
Mr. Shamsul is fine for the step background being different.
Week 6
The step of the animation easy to follow.
The design is good.
Put the title in the corner and put the steps on the
top.
RELECTION
Experience I was a daunting experience since creating animation was my weak points. And my explanation tends to be confusing to majority of people. I want to make extra sure that each step, is easily understandable.
Observation One requirement is to use the same aesthetic that is present in the infographic. However, due to the fact that the background design limited making it unsuitable for a video format. the assets from the infographic are a quite rough. So, I made minor changes in the design and create additional assets order the make it appropriate for the video format.
Findings The recreating of the design to each frame is the tricking part. The design must be suitable yet is supposed to similar to the infographic poster. The earlier design drafts have different background designs to represent the different types of content. But then I realize it is too messy, in the end I use one background design to keep it simple.


.JPG)
.JPG)
.JPG)
.JPG)
.JPG)
.JPG)
.JPG)
.JPG)
.JPG)
.JPG)
.JPG)

-03.jpg)
-05.jpg)


.JPG)


Comments
Post a Comment